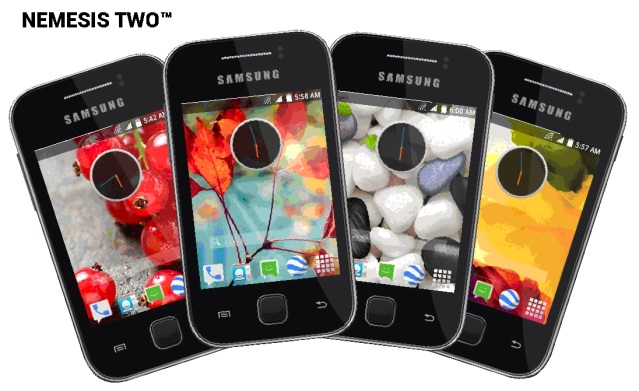
Earlier we saw Galaxy Y running on Android 4.2.1 Jellybean with this help of Custom ROM called “Nemesis“. It was one of the best Jellybean based custom rom for Galaxy Y S5360 offering smooth performance and all features of Android 4.2.1. Now, i am back with the upgraded version of Nemesis and of course upgraded version of Android 4.2. This is Nemesis 2 running on Android 4.2.2 jellybean operating system. The ROM has been tested successfully on Galaxy Y S5360. It offers several enhancement in Music Player, Sound quality, Stable and smooth User Interface, and several customization options. If you want to update your Galaxy Y to Android 4.2.2, just install Nemesis 2 ROM using the steps provided below.
Requirements:
- Like i always say, make sure your battery is charged atleast 70% before starting the process. because if the battery get drained during the process, the phone may get dead and you will need to follow the process provided here to fix dead phones which is time consuming.
- For safer side, backup your entire device including Files, Contacts, messages, other important Data etc as the installation will delete everything stored on the phone.
- Download Nemesis 2 Custom ROM
- Download CWM Mod
Installing Nemesis 2 on Galaxy Y S5360:
Installation of nemesis two custom Rom for galaxy y is not a very big task. You need to follow a few simple steps. Do not skip any one of them.
- Firstly you would need to flash stock rom via Odin and root the device.
- If your device is not rooted, follow the easiest steps provided here to Root the phone.
- In order to install Stock ROM on Galaxy Y, follow the steps provided in this tutorial.
- After you are done with rooting, copy the Nemesis 2 ROM package & CWM file to your phones SD card.
- In order to flash the ROM and Kernel with least problems use the CWM by madteam. As soon as you are done with this turn off your phone.
- Now together press volume up button + home button + Power/lock button to enter recovery menu.
- You will have to navigate with volume button as in this mode you can not use touch screen.
- First select Install update from SD Card, browse and select the CWM by madteam file, confirm to install by pressing Power key.
- Now you will be in CWM Mode. Scroll using the power key and wipe out the three components by going to advanced option: data, cache, dalvik.
- Mount everything by going to mount and storage option.
- Now go back to recovery home menu and select Install Zip From SD Card
- Browse and select Nemesis zip package you have downloaded earlier. Confirm with Powerkey
- Once the Rom installation is done, select ‘reboot system now’ from home menu.
- After this you have to download the savie kernel.
- Flash it from CWM after mounting system.
- Again reboot and you are done.
You have successfully installed the nemesis 2 in your galaxy Y. Let me know if you face any problem with the installation or after the installation.
Installation is very simple Faiz. You can get the ROM running by simply following the steps provided above. Anyway, here is the video tutorial for the same:


