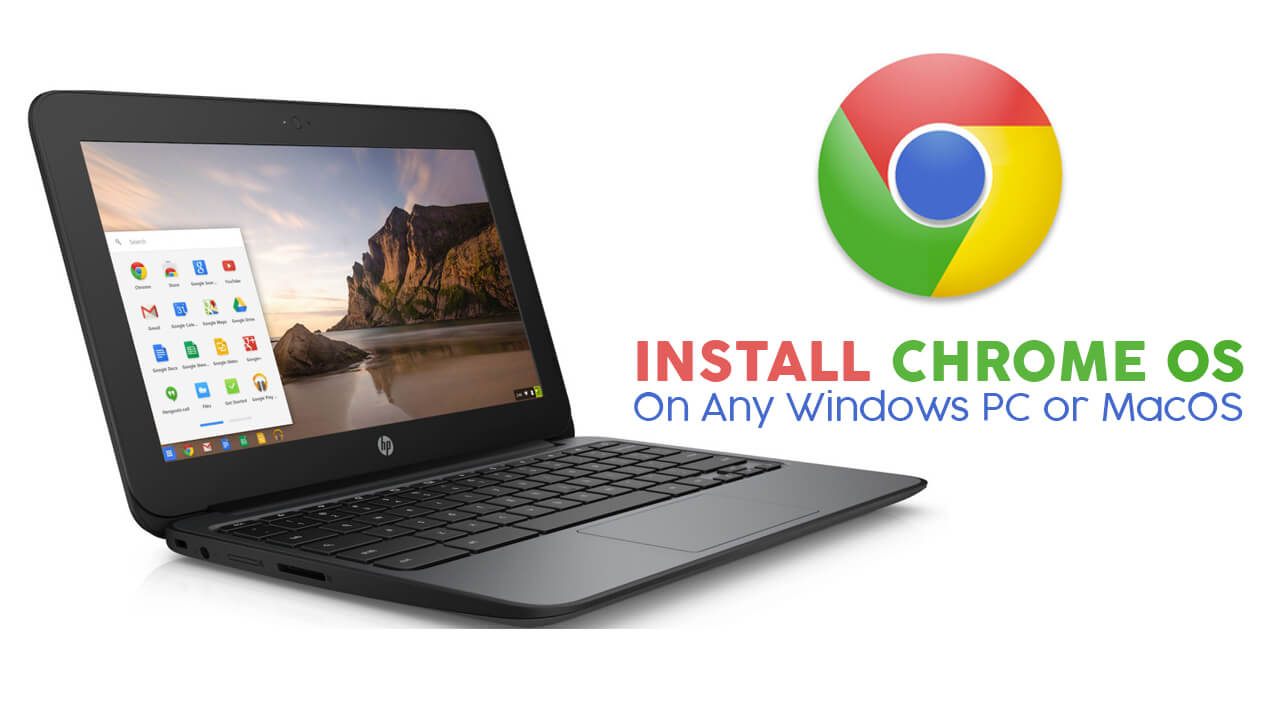
Every day new technology hit the market, so it is mandatory to keep all the things up to date. We all are so much dependent on gadgets. Every organization has old pc or laptops which are so outdated in today’s scenario. If you are stuck with a device that is so slow for today’s pace. Here we will tell you how you can put life back again to your OLD computers by transforming them into super lightweight all new ChromeBook.
You must be wondering why chromebooks. Compared to all other operating systems, Chrome OS is the most easiest and lightest OS you can come across and it also takes minimum resources and efforts. In short, the devices which are on verge of crashing due to insufficient processing power and less Ram as compared to already prevailing in the market, this will put life on it.
Let us discuss how to use Neverware’s Cloud Ready Enterprise Edition to convert your old Windows PC and MacOSX into Chromebook. The software has its three-week trial version and to get full access you have to buy it at a charge of $49 a year. It is also available in a different version for school and home use.
To make it easier for you to understand the process we divided it into steps. Let’s begin
Download and Install Chrome OS:
STEP 1:
First thing first check your system compatibility at Neverware’s Site. If your system is on it then you’re ready to proceed on the second step, If not then try to make some conversion on a flash drive. The precaution while downloading the software it can format your drive in the installation process. So better back up your stuff.
STEP 2:
After the process one, visit the Neverware’s download site and fill the form pops on your screen, accepts the term and condition and set a strong password for later use. To get to know about the process in a more easy way, it is required to read the manual before for better understanding. The warning sign will appear on the screen, call for downloading the software name Unarchiver through that you can unzip the cloud-ready file. After this, the installation process will start.
STEP 3:
Next you need to click on Download USB maker to get the file of 42 Mb which will complete the process of installation flash drive. By clicking on next which is appearing on the bottom right corner, it will ask for your email id and password. Further, also ask for 32 and 64-bit version. Insert the USB flash drive after clicking next then download the software from Cloud Ready’s server. After a certain amount of time, it will be shown finish on your screen.
STEP 4:
Insert the flash drive in the device you want to convert. Check the system bios utility before the OS starts loading. The different device uses different function key for radius press accordingly. However, For Mac user you have to press option and command key. Prefer the system setting to go on USB port first for startup software. Disable the booting feature from an external drive. After the process completely changes the setting back to normal.
STEP 5:
To make process complete start the device then the cloud-ready software will load from a flash drive. It will ask for the language preference and wifi password for completion of the process. After giving access to your wifi it will install the software and creates a new system. This process can take time.
STEP 6:
After this process, machine will shut down; it means the process is complete. Eject the flash drive from the system and start it. It will further ask for the wifi key and permission for a software update. Your system is now successfully converted into Chrome book. The screen will look like any other Chromebook except the icon of chrome.
STEP 7:
Check out your new Chrome OS running computer but remember, the only limitation is it won’t support your android apps
However, the software is available for free but $49 will give the user more access and provide more support. In short cloud, ready software is a magic stick to convert your all devices into a new one.


