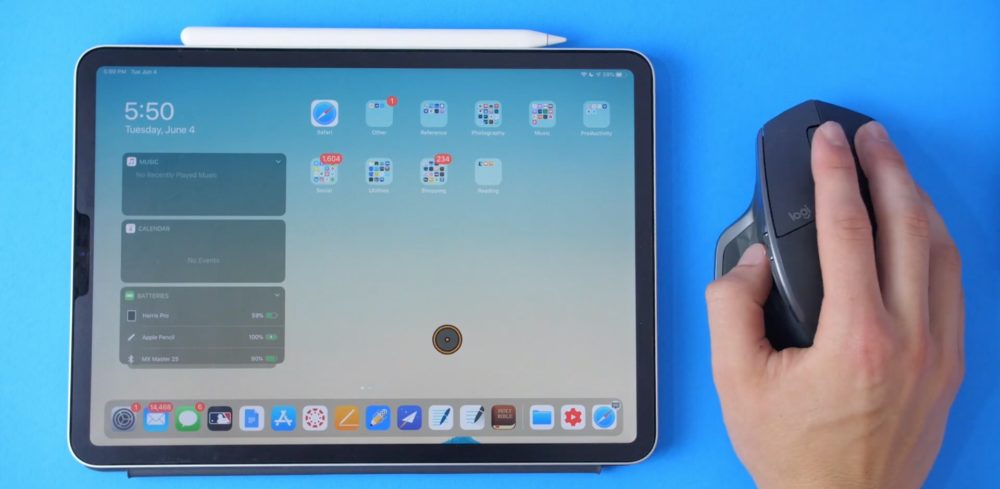
Welcome to a world new world courtesy of the OS 13 for both the iPad and iPhone. This is because mouse support is a feature which this new OS brings to its users. There might be a slight catch to getting it set up, but it is well worth the wait. Over the years, iPad users have begged and waited for mouse support on their iPad device and now Apple has listened to them and introduced mouse support for the introduction of the iPadOS 13. The upside is mouse support also comes for the iPhone also.
As welcome as this news is, Apple made the set up a bit tasking by burying it deep with the iPad and also the iPhone accessibility settings. Not to worry, accessing this setting is not impossible.
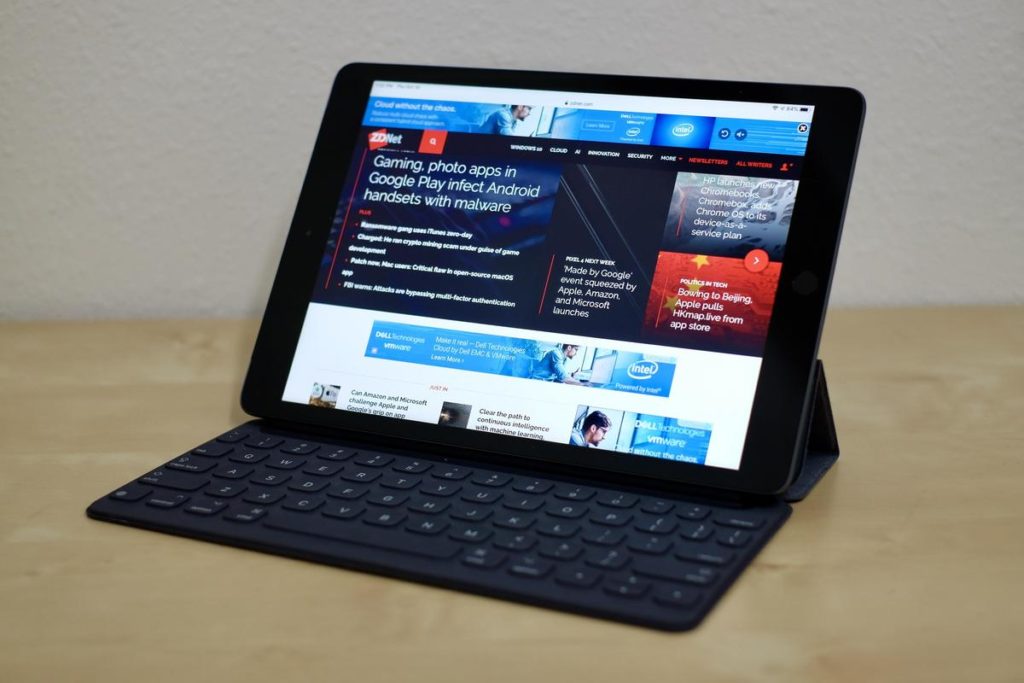
There is also the part of the ugly ‘fingerprint circular’ cursor which is designed to give you the feeling of you using your fingers to scroll through your iPad and the few interface problems you might encounter when you connect your mouse through a wired connection or Bluetooth. This interface problem makes the mouse not work exactly as we would hope but like Apple says’ Accessibility feature’.
Setting up the mouse support on your iPad is best using the Bluetooth option. This is because it is more stable, easier relatively and faster. Using a Bluetooth mouse is definitely the best way to go. This would be the reason why most people would say the best mouse for the iPad is a Bluetooth mouse. Full list of mice reviews you can find on bestreviews.guide.
Connecting it to your device is easy also as there are a number of steps that you need to follow, and you are good to go. We would show you the step by step process to get your Bluetooth mouse set up. At this point, remember to disconnect your mouse from any other device it is connected to.
There is the step by step process to set you’re your Bluetooth mouse on your iPad or even your iPhone.
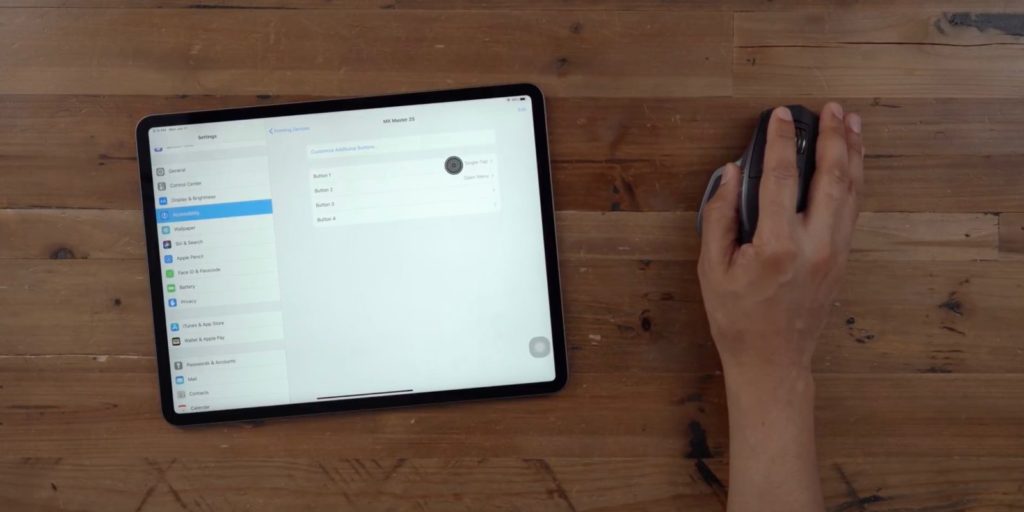
1. Open the Settings app on your device.
2. Scroll down to accessibility and select it.
3. Under the Physical and Motor section, press Touch.
4. You should be presented with a toggle for Assistive Touch at the top. It will likely read Off. Select it.
5. You will be presented with another menu. Turn on the Assistive Touch through the toggle at the top.
6. In the same menu, scroll down to Pointing Devices. Press it
7. Select Bluetooth Devices.
8. Set your Bluetooth mouse to pairing mode at this point. Depending on the type of mouse, you can either pair it by holding down the top for a few seconds or there might be a pin request pop up on the screen. you just need to enter in 0000 if this prompt comes up.
Once you follow the above 8 steps, your Bluetooth mouse should be up and running on either your iPad or your iPhone without any hassles.
The above steps cover the use of a Bluetooth mouse but what happens if you want to set up a wired mouse on your iOS device? This is also possible but the process of setting up isn’t as straight forward as setting up a Bluetooth mouse.
The reason has been if your mouse isn’t a generic laser mouse you would have a hard time setting it up to any iOS device below the iPad Pro. Trying to set it up on this device would most likely give you this message’ Gaming Mouse G502: This accessory requires too much power’. Well to cheer you put, all wired models work well with the iPad Pro.
To counter this issue, you might need to purchase a lightning dongle before you can easily hook up the standard wired mouse with your low-end or older model iPad. If you have the iPad Pro 2018, you would need a different kind of lighting dongle, USB to be exact. The steps which you would have to follow are not as much as setting up your Bluetooth mouse. The steps are;
1. Open the Settings app
2. Scroll down to Accessibility and select it.
3. Press Touch under the Physical and Motor section.
4. You would be presented with a toggle for Assistive Touch at the top of your screen. it would most likely be on Off. Select it.
5. This will take you to another menu. Turn on Assistive Touch through the toggle at the top of your screen.
When you get to this point, simply plug in your mouse into your device. It will be up and running at this point.
Once, you have successfully set up your Bluetooth mouse or wired mouse there is the need to calibrate it. It is at this point you might be presented with some bad news. The first up is, your expectation that your mouse would work the same way it does when you use a Mac or a PC, will not be met.
The next up is the cursor. It will show as a big grey circle. You can change the color, but it doesn’t get any better. You would be offered the choice of some hues which you would not like. Thirdly, the mouse isn’t as precise as when you use it for a PC or Mac, but with time you should get a hang of it.
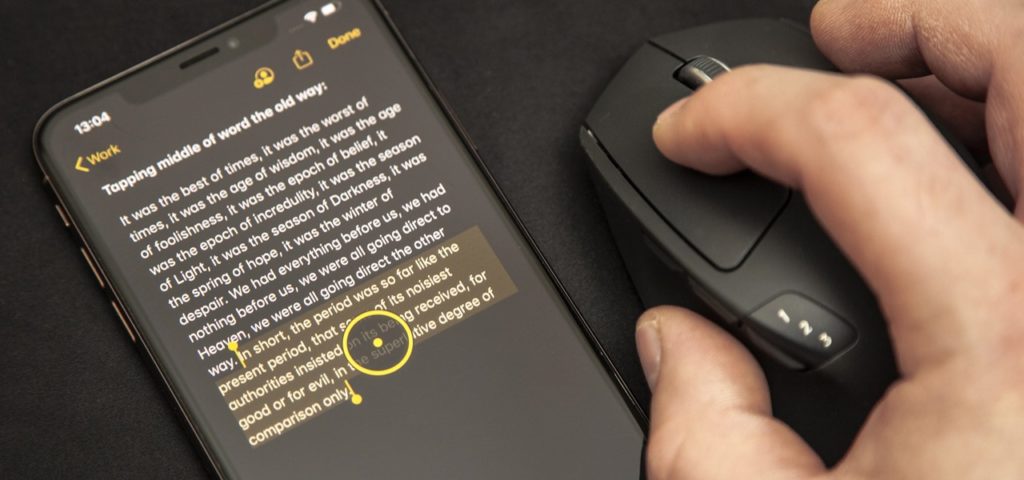
From all we have said so far, it is clear that the setup and use of a mouse on your iPad will take some getting used to. There is the weird past also of not being able to right-click, you need to use your mouse to mimic this gesture. Also, you cant simply tap down to select a text.
You have to double-click on a word with the mouse left button and drag the toggle if you want to highpoint the rest of the selection. Despite these few awkward issues, it is a welcome development for iPad users to have the option of using a mouse either wired but preferably Bluetooth.

