Transitions play a crucial role in video editing, as they may either elevate or dismantle the overall quality of a video production. The soothing flow that cohesively joins diverse clips is what grips the audience’s attention and keeps them entranced. Adobe Premiere Pro provides access to a huge library of transitions that add a splash of vibrancy and innovation to any content. These 4 transitions guarantee to escalate your clips to a new level.
The Purpose of the Video and the Importance of Transitions
Adobe Premiere Pro brings lots of benefits to editors:
- A wide range of functions. Everyone can use only those features that they need. Fine-tuning can be done by beginners, as well as highly professional installers.
- Simple and intuitive interface. No considerable effort is required to master the program. Commands are available in many languages.
- Working with audio files is easy. You can record audio directly in the mixer in real-time and work with key points automatically.
- A large number of hotkeys and the ability to assign their combinations to certain commands. This greatly simplifies the work in the program.
Transitions are one of the key features of this editing software. They make frame junctions softer and more interesting, and your video, in turn, more beautiful and richer.
Moreover, transitions for Premiere Pro are used to somehow smooth out the change of unmounted frames, as well as where you want to “move” viewers to another time. The need for certain transitions is dictated by the script.
Transitions for video editing allow not only to separate scenes from each other, but also partially disguise unsuccessful editing points.
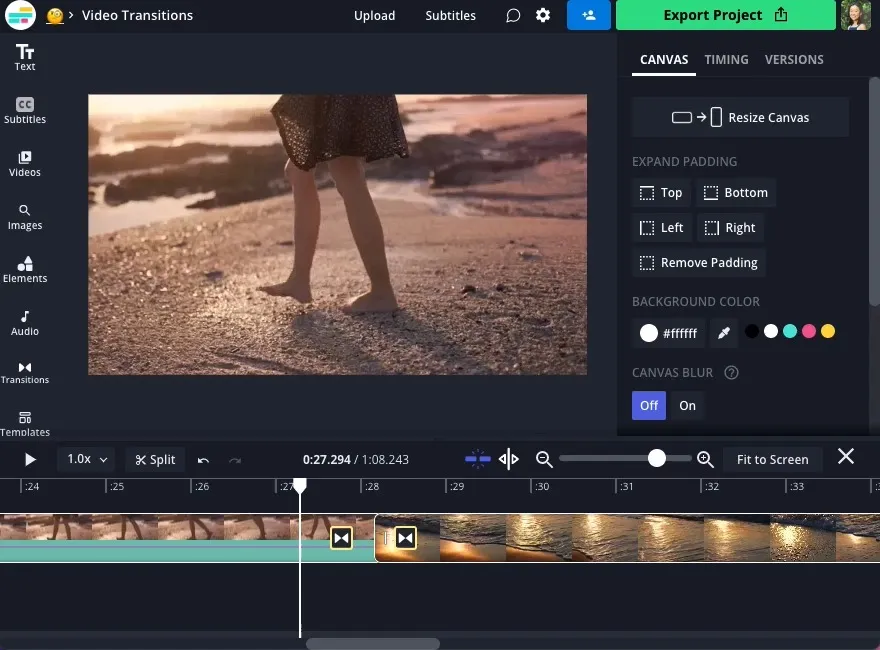
While using Adobe Premiere Pro, you can find them in the Effects panel. To add and apply them to your content, drag the effect to the junction of your clips. If you want to make a smooth appearance from the beginning of the clip or fade in at the end, drag the selected transition and release it at the beginning or the end of the video. You can also change its duration by stretching or shortening it on the timeline.
Transition 1: Cross Dissolve – How to Create a Smooth Transition Between Clips Using the Cross Dissolve Effect
This transition is suitable if you want to create a smooth transition between two clips. Thanks to it, you get a natural flow that doesn’t distract the viewers.
Editors must remember a simple rule: good splicing is inconspicuous splicing. Whenever a frame cuts off too abruptly, use the cross-dissolve effect. It “blends” the two video clips together, and the transition becomes smoother and more visually pleasing.
Transition 2: Zoom Transition – How to Apply the Zoom Transition Effect to Add Dynamic and Creative Elements to Videos
The zoom effect is a powerful tool that can add depth and emotion to your videos. It allows viewers to focus on certain details while creating a sense of urgency and excitement. Controlling the speed and intensity of the zoom helps creators take the target audience on a visual journey.
However, such a transition also has a practical purpose. Zoom allows editors to bring attention to the most essential moments. This can help reinforce your message and make your video more persuasive and effective.
This transition can also become a way to create a sense of intimacy and closeness between the camera and the subject. As a result, viewers feel like they are part of the action and create a more immersive experience.
You can also play around with the timing of the transition to make it more dramatic.

Transition 3: Slide Transition – How to Create Seamless Transitions Between Clips Using the Slide Transition Effect for a Stylish and Modern Look
Slide transitions are a type of transition whereby one clip slides off the screen and another slides onto it. Editors frequently use it when moving from one scene to another or changing the subject of a video.
These transitions help tie all the scenes in your video together. They make the transition between clips seamless, creating a cohesive experience for viewers. Like with other transitions, this one will help videos flow smoothly so that the target audience won’t get bored or feel lost while watching it.
They can also be adapted to fit any type of video. What’s more, they can be customized to match the mood and tone of the video. For example, the transition between clips may last longer or shorter to suit the scene if the scene demands it.
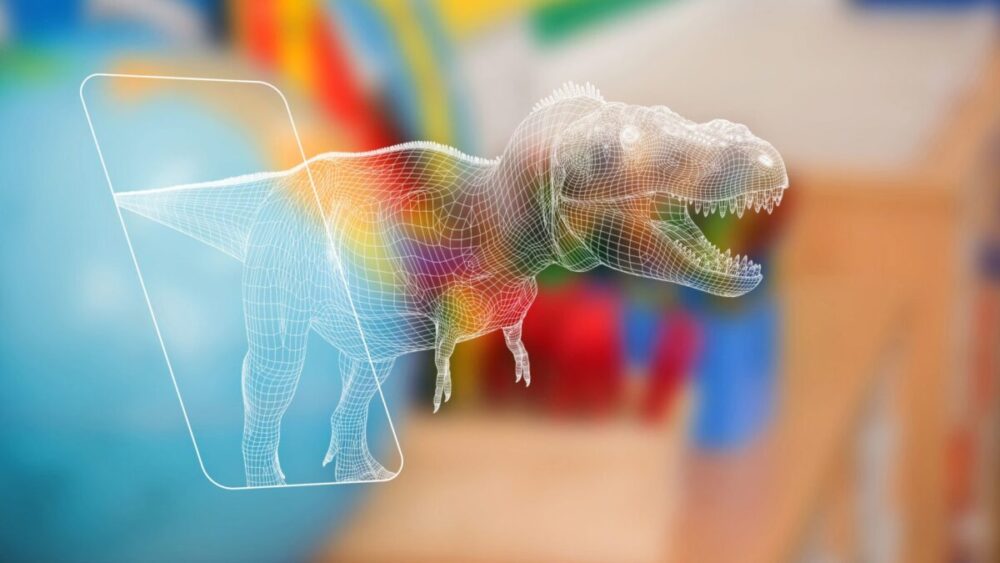
Transition 4: Warp Transition – The Process of Using the Warp Transition Effect to Add a Unique and Eye-catching Element to Videos
Wrap transitions help accentuate a dramatic moment in a video. It allows editors to create a sense of anticipation and suspense before revealing the climax.
These transitions can be useful if you want to create dreamlike and surreal sequences in a video. Due to this effect, you can transport the viewer to another world and make them feel like they are in a dream.
Moreover, this feature suits creators who need to indicate a change in time or space. For example, if you want to show a character entering a different room, you can use this effect to signify the transition.

Benefits of Using These Transitions in Adobe Premiere Pro
Transitions enhance the overall video quality and make it look more professional. This feature allows editors to create seamless cuts between different scenes or elements.
Additionally, these elements save time and effort in editing. Presets and templates let everyone achieve professional-grade results quickly. This also helps editors focus on other aspects, like storytelling, color grading, or sound design.
Transitions often help communicate different emotions and messages in videos. Besides the effects described above, there are lots of other options for Premiere Pro users. For example, fast-paced cuts or jump cuts create a sense of urgency or suspense, while slow fades indicate a scene change or a shift in mood. The right transitions help creators convey their ideas more effectively.
Furthermore, transitions are the ultimate choice for amateur video editors. Transitions add a layer of professionalism to the clip and make it look like it was made by a group of experienced editors. That’s especially useful for corporate videos, marketing campaigns, or other projects that require a high level of polish and sophistication.


