Portrait editing is an essential aspect of photography that can significantly enhance the quality of your images. It allows you to correct imperfections, adjust colors, and add creative effects to make your portraits stand out. Adobe Lightroom, a powerful and versatile tool, makes this process easier and more efficient. With its user-friendly interface and comprehensive suite of editing tools, Lightroom is the go-to software for many professional photographers and enthusiasts alike. This guide will introduce you to the basics of portrait editing in Lightroom, providing you with the knowledge you need to start enhancing your own images, and making your portraits truly shine.
Understanding Raw vs. JPEG for Portrait Editing

Before we dive into the editing process, it’s important to understand the difference between shooting in raw and JPEG formats. Raw files contain all the data captured by your camera sensor, giving you more flexibility in post-processing. JPEGs, on the other hand, are compressed files where some data is lost. When editing portraits, raw files are preferred because they allow for more precise adjustments without degrading image quality. Working with raw files in Lightroom can significantly improve your final results, providing richer colors, greater detail, and better dynamic range, thus giving you more creative control over your images.
Importing Portraits into Adobe Lightroom
To start editing your portraits in Lightroom, you first need to import your images. Click on the ‘Import’ button in the Library module, navigate to the location of your files, and select the images you want to import. You can organize your images into catalogs and folders to keep your workspace tidy and efficient. Remember to use a consistent naming system for your files to make them easier to locate in the future. This organization will streamline your workflow and make the editing process more enjoyable and less time-consuming.
Mastering the Lightroom Interface
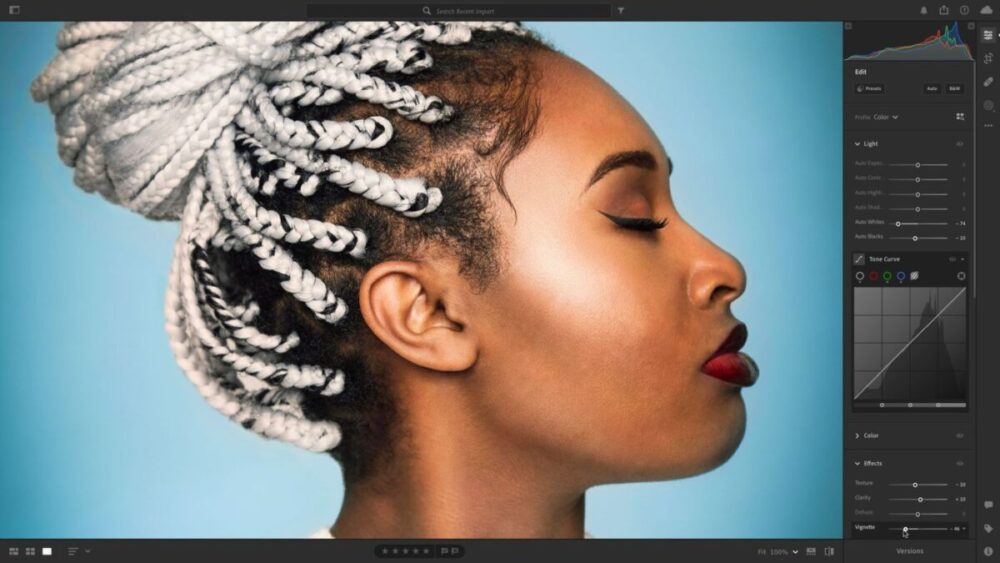
Lightroom’s interface is divided into different modules, each designed for a specific task. The Library module is where you import, organize, and select your images. The Develop module is where the magic happens. Here, you’ll find a range of tools and sliders for adjusting exposure, contrast, color, and more. Familiarizing yourself with these modules and their functions is key to efficient and effective portrait editing. Understanding the Lightroom interface will empower you to make the most of its powerful features and transform your portraits.
Basic Portrait Editing Techniques
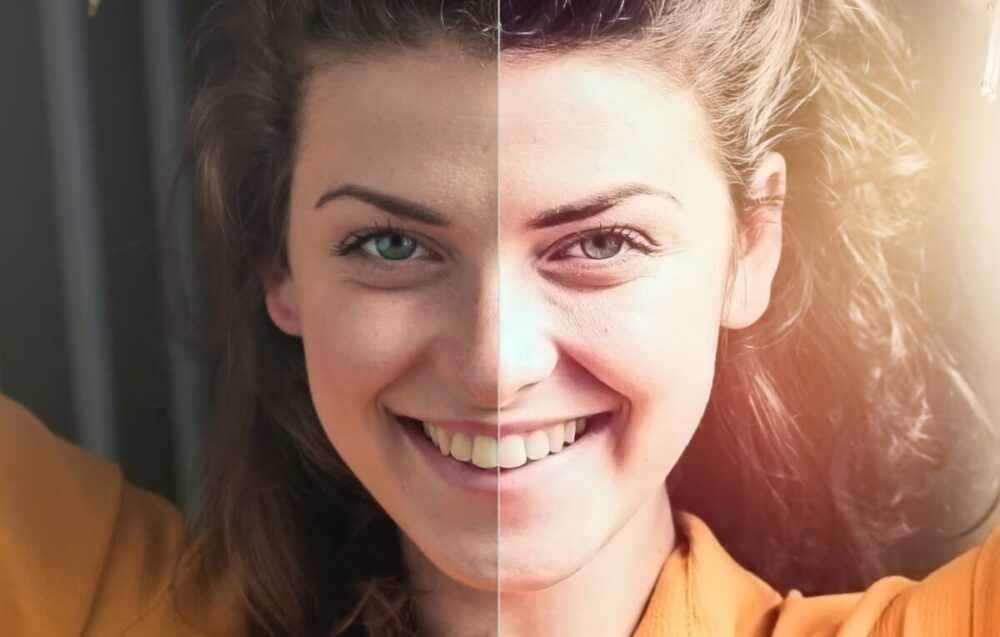
In the Develop module, start with the ‘Basic’ panel. Here, you can adjust the exposure, contrast, highlights, shadows, and white balance of your image. These sliders can dramatically improve the overall look of your portrait, making it brighter, more vibrant, or more dramatic, depending on your creative vision. Remember, subtlety is key. Over-editing can make your portrait look unnatural. It’s about enhancing the natural beauty of your subject, not creating a new reality as experts such as Franci Neely would tell you.
Fine-Tuning Colors and Tones
The HSL (Hue, Saturation, Luminance) panel in Lightroom allows you to fine-tune the colors in your portrait. You can adjust the hue, saturation, and luminance of individual color ranges, giving you precise control over the look of your image. This is particularly useful for achieving pleasing skin tones, which are crucial for a successful portrait. Mastering this panel will allow you to bring out the best in your subject’s complexion and highlight their unique features.
Retouching and Blemish Removal
Lightroom’s Spot Removal tool and Healing Brush are perfect for retouching skin imperfections and blemishes. These tools allow you to sample clean areas of skin and use them to cover up spots, wrinkles, and other imperfections. The key to successful retouching is to keep it subtle and natural-looking. This will ensure that your subject looks their best while still looking like themselves, maintaining the authenticity of your portrait.
Enhancing Eyes and Teeth
Eyes are often the focal point of a portrait, and Lightroom provides tools to make them pop. You can brighten the whites, enhance the iris, and sharpen the details to make the eyes more captivating. Similarly, you can use the Adjustment Brush to whiten teeth and create a more attractive smile. These enhancements can make a significant difference, adding life and personality to your portraits.
Adding Creative Effects with Presets
Presets are a great way to speed up your editing process in Lightroom. They are pre-configured settings that you can apply to your images with a single click. There are many portrait-specific presets available that can add creative effects and enhance the mood of your image. Using presets can save you time and provide a consistent look across a series of images, allowing you to focus more on the creative aspects of your work.
Utilizing Graduated and Radial Filters
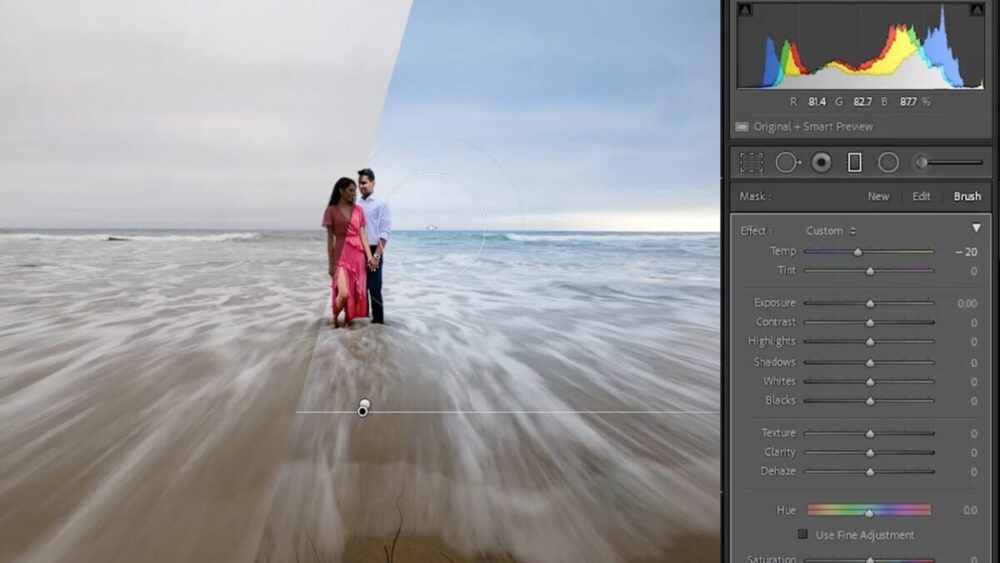
Graduated and Radial Filters are powerful tools in Lightroom that allow you to control exposure and focus in specific areas of your portrait. You can use these filters to darken the background, highlight the subject, or create artistic effects. They are a great way to add depth and interest to your portraits, guiding the viewer’s eye and emphasizing the most important elements of your image.
Final Touches and Exporting the Edited Portrait
Once you’re happy with your edits, it’s time to add the final touches. You can add a vignette to draw attention to the subject, sharpen the image to enhance details, and reduce noise for a cleaner look. Finally, you can export your edited portrait in various formats for different purposes, such as printing, sharing online, or archiving. This final step ensures that your hard work is presented in the best possible way, ready to be appreciated by others.
Conclusion and Next Steps
This guide has covered the basics of portrait editing in Adobe Lightroom, from importing your images to exporting the final product. With practice, you’ll become more comfortable with the software and develop your own editing style. Remember, the goal of editing is not to create a perfect image, but to enhance the story and emotion of your portrait. So keep practicing, keep exploring, and most importantly, have fun with it! The journey of learning and improving is just as rewarding as the final result.