
Microsoft has introduced the Windows Sandbox environment to Windows 10 which is proved to be a great feature for Windows 10 environment.
For those who don’t know, Window Sandbox is a virtual environment for a computer for a temporary basis. While running Sandbox on your system, you’re basically running a protective environment in which the activities will never affect your computer.
It is a safe and secure environment in which you can try out and test softwares before installing them on to your machine. In this manner, when you return to your system by exiting the Sandbox, it destroys the activity that you are running in it.
Earlier for creating a sandbox in Windows 10, third-party tools were required. In this article, we will provide a complete guide to create a Sandbox on Windows 10 without using any third-party tool.
Here’s how you can set up the Windows Sandbox on Windows 10.
Note that, Windows Sandbox is only available for Windows 10 Pro, Enterprise installations running Insider Preview build 18305 or later builds, and Windows 10 May 2019 update or later. It is not available for Windows 10 Home users currently.
Pre-requisites :
- A 64-bit processor
- Virtualization switched on in system BIOS
- Minimum 4GB RAM(recommended : 8GB)
- Minimum 1GB free disk space (recommended: an SSD)
- Minimum 2 CPU cores (recommended: four cores with hyperthreading)

1. SwitchOn Virtualization
First thing you need to confirm if the virtualization is switched on or not. To do this, type task in your Start Menu search bar and select the Best Match. After that, in Task Manager go to the Performance tab. You will find its status along with the Virtualization. It will either list Enabled or Disable.
If it is enabled then you’re good but if not, you need to enable it. Once BIOS virtualization is switched on, restart your system and move on to the next steps.
2. Switch on Hyper – V and Windows Sandbox
Hyper-V is a built-in Windows server virtualization tool. In this tutorial, we are using this tool to create Windows Sandbox. You need to switch it on.
- To do this, again type windows features in the Start Menu search bar and go with the best match. Then, go for Hyper-V in the list and check the box down.
- After that, navigate to the Windows Sandbox option and check the box.
- Click OK and then restart your device.
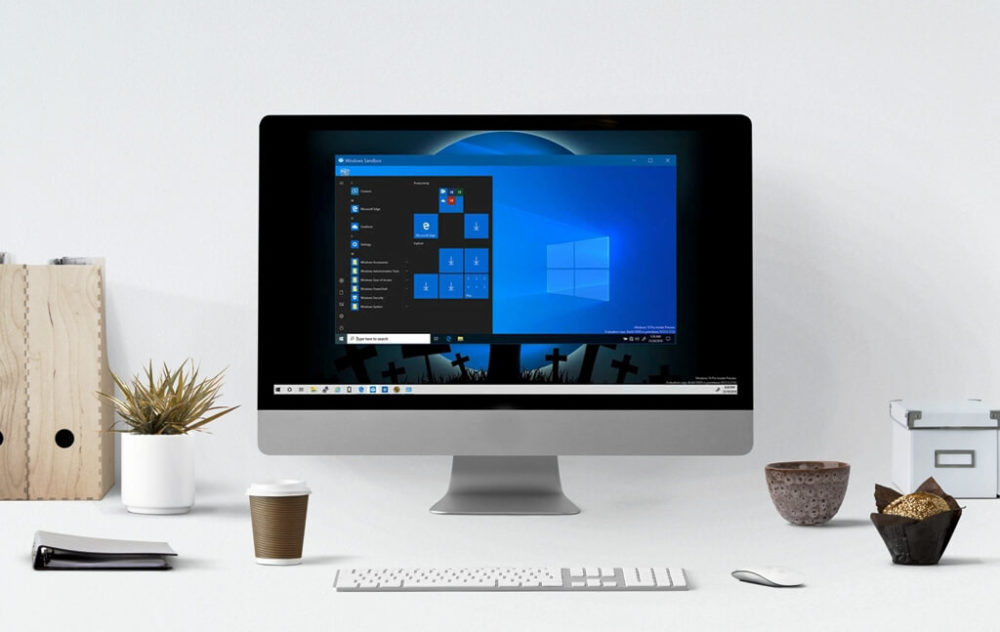
How to Use Windows Sandbox?
After restarting your computer, simply search for sandbox in the Start Menu search bar. Windows Sandbox will appear, you can now run it.
Close the Sandbox after using it. When you will return to your host machine, the sandbox will destroy each activity.
How to Run Windows Sandbox in a Virtual Machine?
If you want to run Windows Sandbox inside a virtual machine then you have to set up your system for running a virtual environment inside a virtual machine. It is known as nested virtualization.
To do this, open your virtual machine and type ‘powershell’ in the search bar. Open it and select Run as Administrator.
Next, input the following command:
Set-VMProcessor -VMName <VMName> -ExposeVirtualizationExtensions $true
Here, replace <VMName> with the virtual machine name.
Now, simply restart your virtual machine and then you can use Windows Sandbox inside it.


