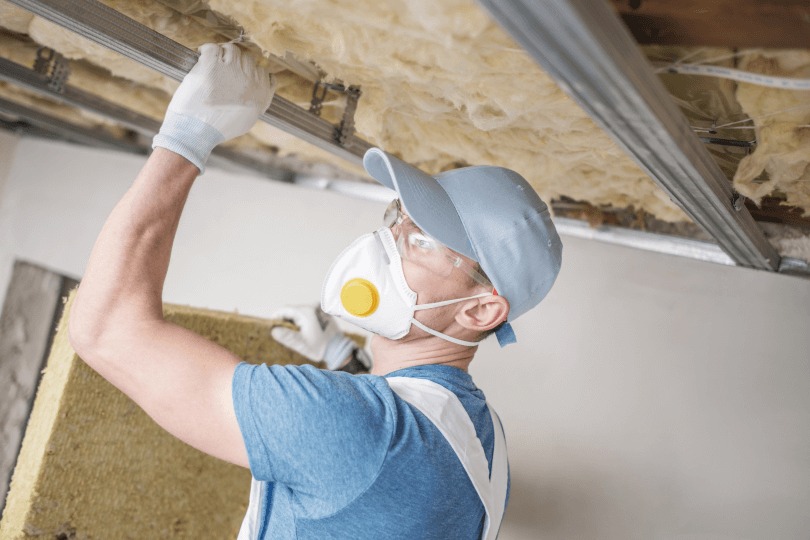
Did you just purchase a new home where the dryer vent needs to be replaced? Well, if so, you should keep in mind that the installation process is daunting, especially if it is located in a tight area. However, by having the right tools, equipment, and strategy, you’ll be able to go make the entire process easier and less time-consuming.
Luckily for all individuals that never installed such a part before or that never replaced one in a tight space, this article might help. The text below is going to feature a how-to guide that will teach you how to go through the entire installation process. Let’s take a closer look at the things you’ll need to do:
Step 01: Firstly, Gather Your Equipment
For installing a dryer vent, you’ll need an adjustable wrench, a flat blade screwdriver or a socket driver, a yellow gas line thread-seal tape that is manufactured specifically for gas dryer applications, HVAC aluminum foil tape, an offset kit, and two adjustable stainless steel bands worm-gear hose clamp.
Step 02: Pull The Dryer Out
Once you gather all of your tools and materials, your next task is to pull the device out and unplug it. When it is in a small space, there is no other way to replace the part than to climb over the machine. Hence, pull it out as much as you can since it will allow you to actually work. You could also use ladders if you want to ensure that you get to the back safely. Of course, if you can pull it all the way out, you won’t need to climb over it.
Step 03: Disconnect The Broken Vent
When you get behind the appliance, it will be a bit complex to unscrew the metal clamps connecting the vent to the flanges. So, if you tried using a screwdriver and it is just not working, you can choose to use a socket driver. You might have to remove the tape that was on the old part from all the connections, which is something that you can do with a utility knife or screwdriver. You could also choose to reuse the old clamps on the new one.
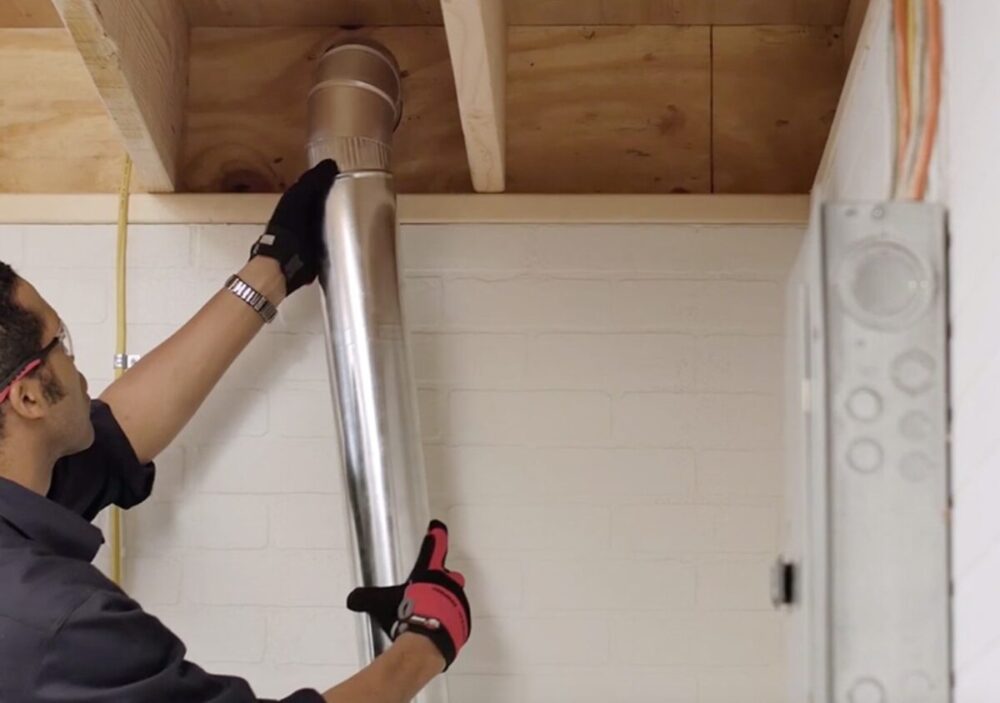
Step 04: You’ll Need a Hose Designed For Small Areas
According to UpgradedHome.com, you’ll definitely want to install a flexible foil type vent manufactured from flexible metal materials. Of course, you could opt for the traditional flexible metal vent, however, they are not a good option for small areas. By choosing the one made from flexible foil, you’ll be able to install it properly and it won’t crash or get broken like the traditional option.
When the flanges are cleared, you can put the metal clamp over the flex vent. Next, you should put one end of the part over the metal flange. Once you position it, you should move the clamp to the right spot and tighten it with a socket driver. You’ll need to repeat the same things on the other side as well.
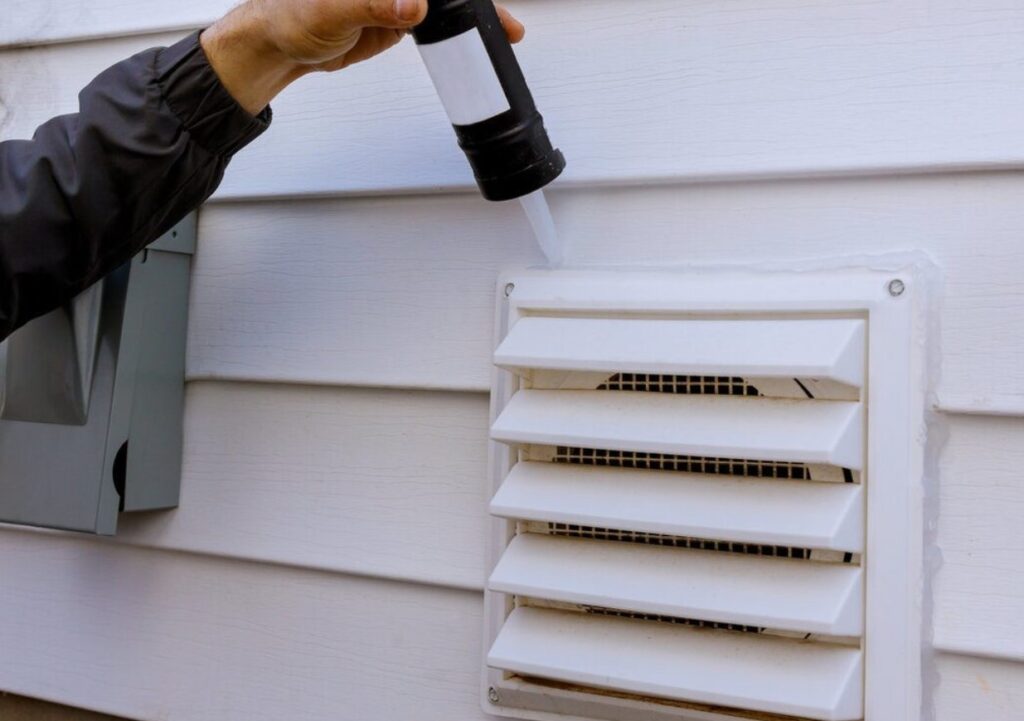
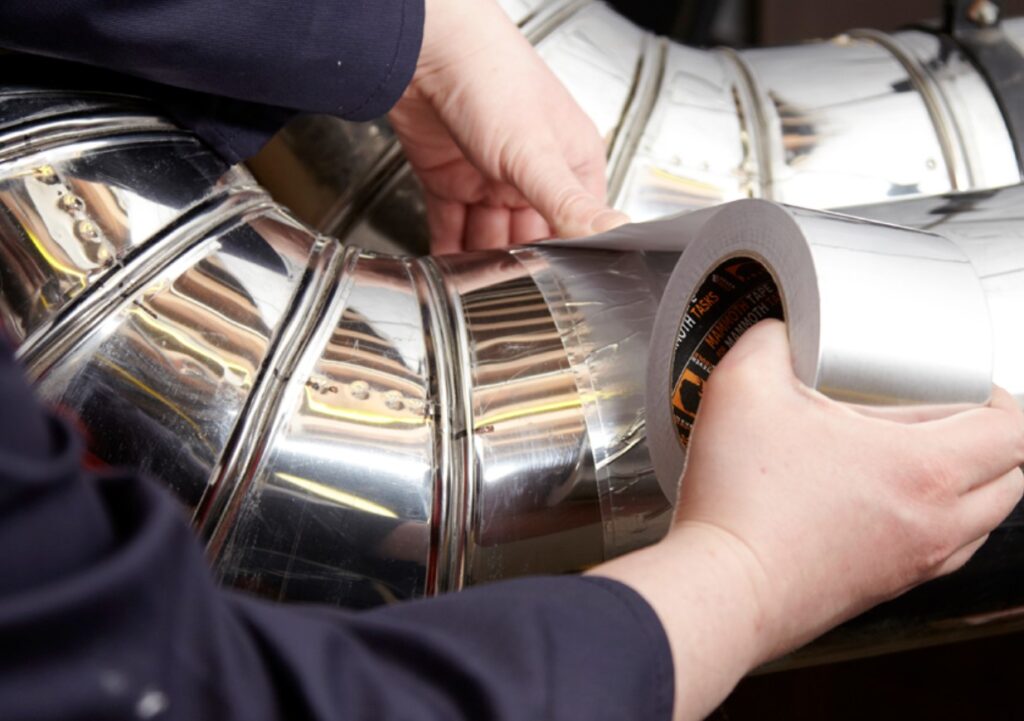
Step 05: Place The Tape
In order to ensure that it is sealed properly and tightly, you should put at least one layer of aluminum foil tape over the clamp. This is especially useful since it will be in a tight space, hence, you do not want it to become loose because you’ll need to repeat all of these things again.
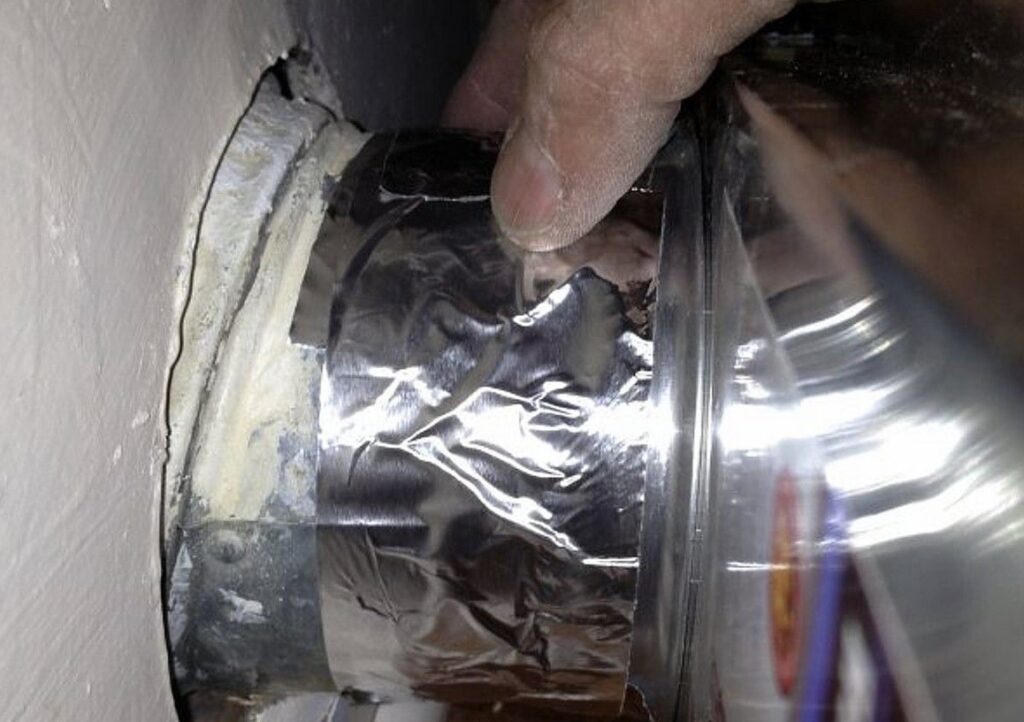
Step 06: Return it Back And Monitor The Connection
When you complete all of the aforementioned tasks, you can return the appliance to its place. Now, you’ll want to do this as carefully as you can since you won’t want to damage or crush the part while doing so. This is why you’ll want to return it slowly and from time to time, you should check the connection. If you cannot see it, you can use a mirror to check whether or not it is still in its place. Keep in mind, you might want to adjust it a little bit.
Do you need to pull it out and get the part into the best position that will allow better airflow? No, you won’t need to do that again. Instead, you can use the end of a broomstick to adjust the position. Ensure that there aren’t any kinks in the hose that will stop air from flowing, especially since it could become a fire danger otherwise.
Things to Keep in Mind
Although it sounds like a simple installation process, in reality, it can be quite daunting. This is why you’ll need to keep something in mind when installing a new dryer vent. The things you’ll want to remember include:
- You’ll Need Patience – you’ll be working in a tight area, which is why you need to arm yourself with patience. Never rush the entire installation process because you might do something wrong, which can lead to your appliance completely breaking down, hence, you’ll need to pay for an expensive repair.
- Only Choose The Best Materials – as mentioned, not installing it properly or not choosing the best materials and tools can lead to a fire hazard – which is something you’ll surely want to avoid. Although it is a bit expensive to get the best tools and equipment, you’ll ensure that they work properly and for a longer time.
- Calling The Professionals is Wise – is you are unsure of your skills and experience with changing the vent, it is always better to call the professionals to help you. Yes, it will be a little bit more expensive, but at least you’ll ensure that everything is connected properly.
Conclusion
As you can see, the entire process is not that difficult when you have the right tools and equipment. And, if you choose to follow the guide mentioned in the article above, you’ll surely make the entire process easier, less time-consuming, as well as less stressful for everyone involved.
So, now that you know what you’ll need to do in order to install a dryer vent properly, you might not want to waste any more time – after all, it is autumn, which means that you might not be able to dry your clothes outside. Instead, head to the hardware store, get what you need, and replace the old vent right away!