It is really frustrating when the camera on your Mac stops working right when you need it. Whether you’re trying to call someone or simply take a photo, a malfunctioning camera can get on your nerves.
There are various reasons why you may be facing this issue. In this article, we’ll explore some of the common causes of camera issues and provide tips on how to troubleshoot and fix them. Without further ado, let’s get started!
1. Check the Privacy Settings
The first step you take when you are wondering why isn’t my camera working on my mac is to check the camera privacy settings. In recent updates, Apple has introduced strict privacy controls that require you to explicitly grant permission for apps to access the webcam.
To check your privacy settings, follow these simple steps.
- Go to ‘System Preferences’.
- Select ‘Security & Privacy’ and then ‘Privacy’.
- You can choose ‘Camera’ from the menu on the left.
- Check the permissions for the app and update them if needed.
2. Force Quit the App and Restart the PC
If your camera still isn’t working after checking your privacy settings, you can force quit the app and restart your Mac. Sometimes, an application becomes unresponsive and prevents the camera from functioning properly.
Here are the steps to force quit the application.
- Go to the Apple menu in the top-left corner of your screen.
- Select Force Quit.
- Choose the app you want to quit.
- After force quitting the app, restart your Mac and try using the webcam again.
3. Check for Software Updates
Another common cause of camera issues on your Mac is old software. Make sure your Mac is using the latest one. Go to System Preferences and then Software Update. If there are any available updates, download and install them. There are glitches that keep your camera from working properly, and a software update can resolve them.
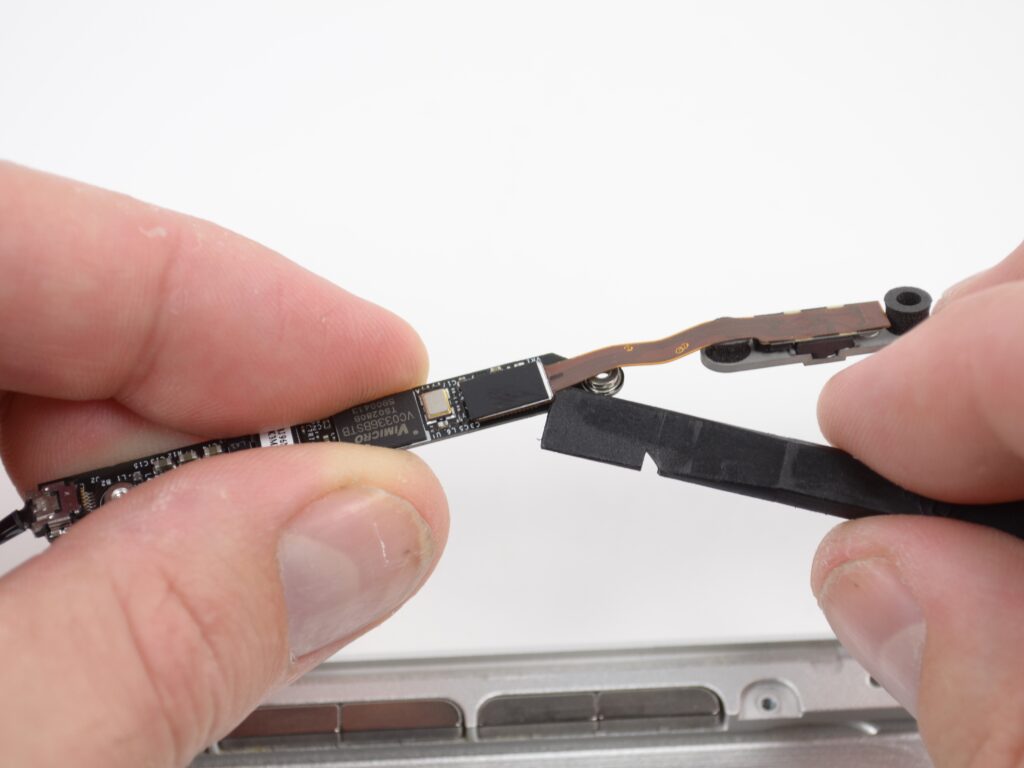
4. Check the Connections
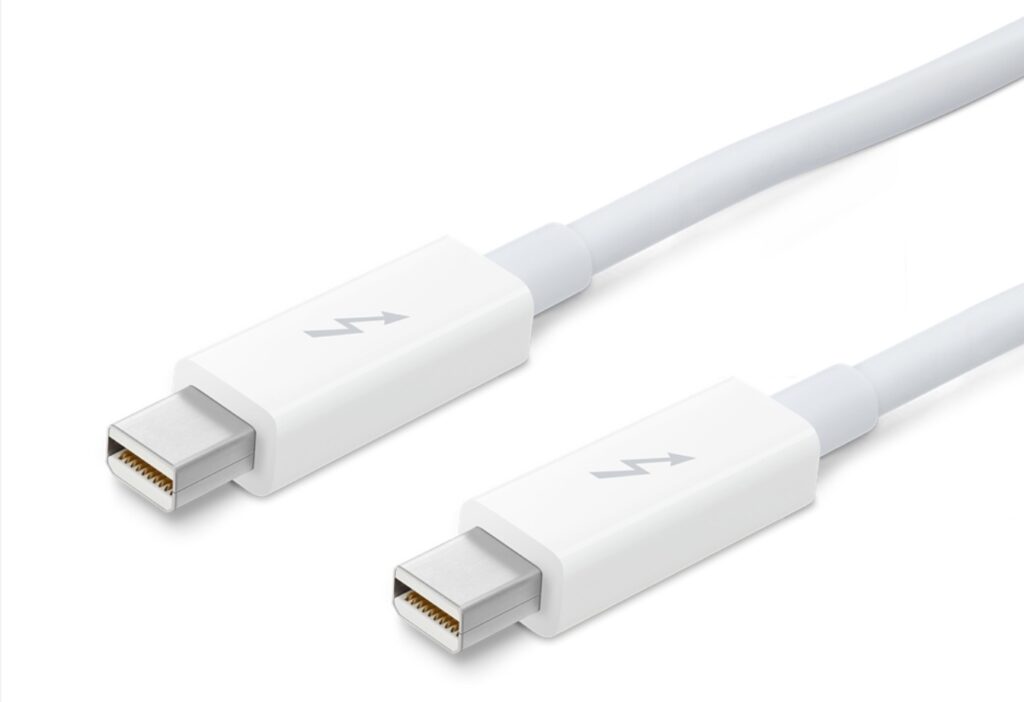
If your camera still isn’t working, it can be a hardware issue. Check the connections to ensure that it is properly plugged in and connected. If you’re using an external camcorder, make sure it’s connected to your Mac via a USB or Thunderbolt cable. If your webcam is built-in, make sure there is nothing blocking the lens.
5. Reset Your System Controller
Resetting your System Controller can help fix various hardware-related issues, including webcam problems. Shut down your laptop. Press the power button and hold it for 10 seconds. Take your finger off the button and wait for a while. Now turn the laptop back on and see if the issue has been resolved.
6. Use Another App
It is possible that your webcam is fine, but the app you are using is causing the problem. To check whether the issue is with a specific app or with the webcam itself, try using the camera in another app. If it works in a different app, the issue may be with the original app you were trying to use.
7. Reinstall the Drivers
If it still isn’t working after trying everything mentioned above, the issue is probably with the drivers. To reinstall the driver, go to System Preferences and then Network. Select Wi-Fi and click the Advanced button.
Choose the TCP/IP tab. Click Renew DHCP Lease and then OK. After renewing the lease, restart your Mac. Your camera should be working now.
Final Word
A malfunctioning camera on your Mac can be frustrating, but there are various steps you can take to troubleshoot and resolve the issue. Moreover, there are preventative measures you can take to avoid camera issues on your Mac. For example, be careful not to expose your camera to excessively bright light, as this can damage the sensor.