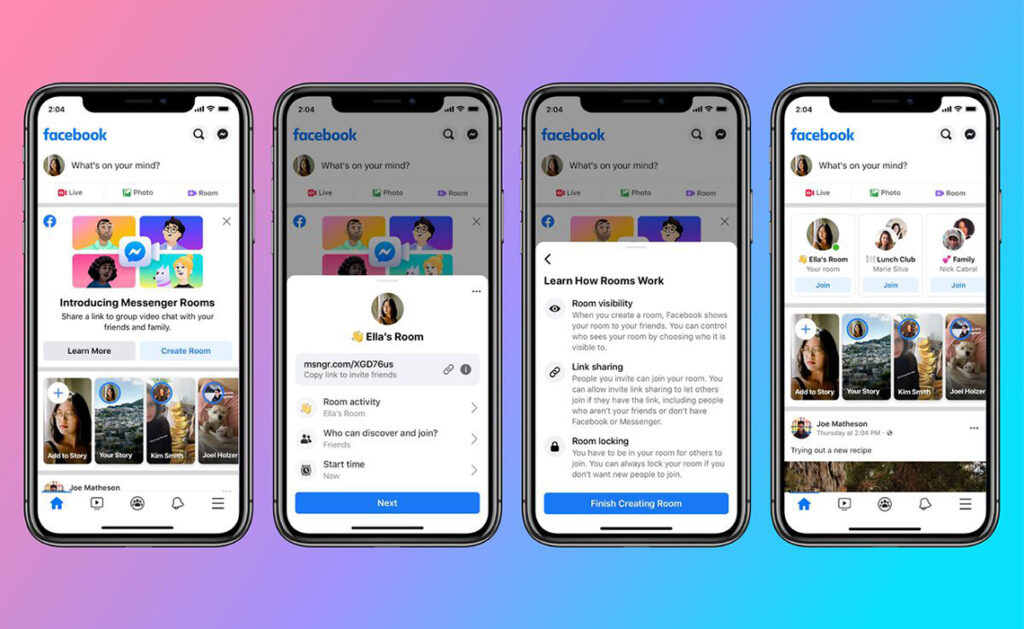
For most people around the globe, social media platforms have become a must. It is the simplest and fastest way to communicate with your friends, your family, and even your coworkers. One of the most used and most popular such websites is Facebook, which is indisputable. Once this platform released 15 years ago, the entire tech world completely changed. The way we share things about ourselves, the way we communicate with each other, and a bunch of other things have evolved to a new level.
However, we also cannot ignore the fact that people have become too dependent on Facebook and other platforms on the Internet. Experts believe that this may even be classified as an addiction. Wasting several hours and up to 10 hours a day on Facebook is definitely negative. It can have an impact on your vision, on your attention span, and even the way you form thoughts. This is the reason why a lot of people have started deleting their Facebook accounts or deactivating them, to get some away time from the Internet.
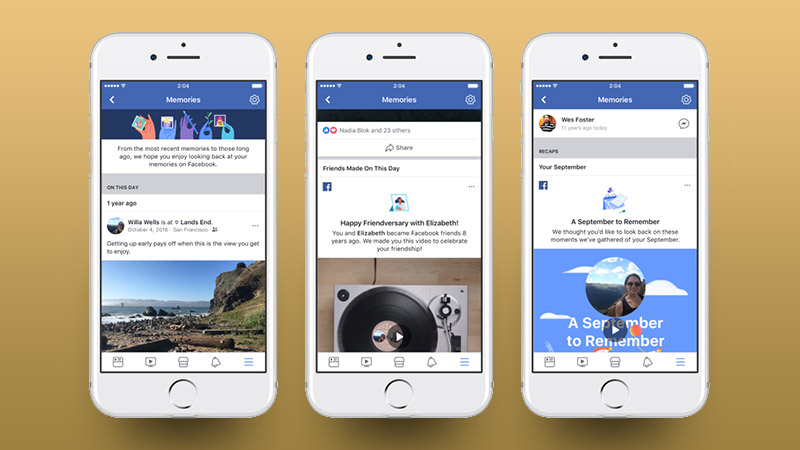
But, we also cannot ignore the fact that this website has allowed us to upload all kinds of posts, photos, videos, etc. It is a place where you can remind yourself about the past by looking through the content you have posted since your account’s creation. Deleting your profile means that you will also delete all of the things that you have uploaded.
So, if you’re willing to deactivate your account but you want to save your Facebook memories, here are some tips to make a backup of them.
1. Use Facebook’s feature
Assuming that you have finally decided that it is time to give up on your social media profile or maybe you just think that FB could completely close down in a couple of years. The real reason why you want to do it doesn’t really matter, what matters is that you want to save the memories that you have created throughout the years.
Fortunately, Mark Zuckerberg thought of that and has made and archiving feature that allows you to download every single piece of information from your profile. Whether you need the photos, your albums, the messages you have sent to your friends and family or you just want to save the information you have posted about yourself, you can do it with this.
The first thing you need to do is log on the website then press the little arrow on the top right corner and a small menu will open. On that menu, press Settings and you will see a new page has opened. On this new page, you will see on the left side of your monitor a list of a bunch of different settings. The third option on that list is called Your Facebook Information. Click that and you will see at the center of your screen another list of several options regarding your information. Here, you can manage everything about yourself, see your activity log, and even download your information.
This time we are focusing on downloading, so click the download your information button. Now another page will open and you will see at least a dozen different new options that you can check or uncheck. You will see things such as posts, photos, videos, comments, likes, friends, stories, etc. and you will need to decide which of these you need to download. Once you have checked the things that you need, press Create File and the process will probably take 5 to 15 minutes. Make sure you leave the tab on your browser open.

2. Using third-party websites
While Facebook’s built-in feature to download everything from your account is very useful and works great, it doesn’t cover everything that you will need. This feature will not allow you to download other people’s content.
What can you do when you need to download some other person’s video? Well, there is a simple solution to that too. There are tons of third-party websites on the Internet that will allow you to download any video from the social media platform.
Here, to give you an example of how easy this is, we searched on Google for a Facebook video downloader. There were dozens of results and we decided to pick one randomly.
The website we chose was frogjet.com and working with it was pretty simple, just like any other video downloader would work. All you need to do is find the clip that you want to save, press right-click on it and then select copy URL. Once you have acquired that link, you will need to paste it to the FB video downloader website of your choice. After that just press next, choose the resolution quality, that type of file that you want (mp4, Mkv, mp3, etc.), and you’re done.
3. Do it manually
Facebook’s built-in feature to save all of your information from your account does work great, but when it doesn’t, that’s a problem. Unfortunately, there have been several reports that it doesn’t work always or it is simply too slow because of too much content. Some people claim that even several gigabytes of messages require several hours of waiting. This is unacceptable for some people, especially for those with a slower computer.
Assuming that you do not have the patience or the computer speed to deal with this, your next best option is to just do everything manually. It will take a bit more time, but at least you know it works. Open up any album you want and start downloading photographs one by one. You can pick which ones you want to save and which ones you do not need.
You could also save messages and text posts manually too. Create a text document on your desktop, then start copying important messages that you want to save and finally paste them into that document. If this seems to slow, you could try to screenshot all of the text that you want to be saved.
It seems like saving your Facebook memories is actually quite simple, no matter which of these three methods that we mentioned you decide to use.